Showing posts with label herbs. Show all posts

Monday, December 30, 2013

So long, 2013...

I don't know whether it's the prospect of going back to work again, the bit of wistfulness that comes with the end of the year, or the sight of our dead Christmas tree but that post-party blues feeling is hovering overhead.  But that's only true because Christmas was awesome -- got to see family, eat delicious holiday food, open presents (more on that in a second), and most importantly, reflect on our spiritual blessings.  I cannot complain.  And thanks to the loving generosity of some wonderful people in my life, I have a few things to be excited about in my garden...

Making tea:

I was not aware that Williams-Sonoma had this awesome "Agrarian" department online in which they sell everything from chicken coops to bee-keeping equipment to vertical gardens to...


Tea making gardening sets!


Obviously awesome!  In the kit are included 3 plants (Orange Bergamot mentha, peppermint, and German chamomile), honey, a very cute honey dipper, and little tea bags.  


I planted the herbs today with great hopes of future delicious tea.  Fortunately, it's been so nice and warm in Southern California that I think the plants will have time to put some stable roots down before it gets cold again.

Good luck, little dudes

I also intend to continue to check out this Agrarian Williams-Sonoma business.  Some of it looks a little crazy (like a $700 vertical planter... no, thank you) but some of it looks like it may be worth a chance (another shot at tomatoes, anyone?).

Thank you, Cal and Rachel!  You know me too well!


Taking better pictures:

Because I got a new toy...

Thank you, wonderful husband!

For you photophilics, this is a Canon Powershot G16 (in a sweet vintage-y leather case that my husband picked).  It's a pretty new model, but the primary upgrade compared to the previous G15 model is the wifi capabilities, meaning that I can upload photos wirelessly directly onto my computer and smart-objects.  Gone are the days of taking a bunch of pictures which languish unseen forever on my point and shoot.  I also put this model on my Christmas list because it supposedly takes good macro (close-up) shots which, as a flower-lover, I can't help but do.

I played with it in my garden today...  

Super close-up shots of my garden:

String of pearls bloom cluster


The closer you get, the more you realize there is to see!


Ever wonder why citrus skin looks like that?


Sweet Jessamine bloom... such a nice color


Once I get the hang of it, I think the pictures will look even better, which will also hopefully mean this blog will look even better.  I'm excited!

Anyway, today instead of music, I leave you with a TED talk that I enjoyed about how to live Superbetter (because I discovered TED talks on Netflix and kind of love them).  Gardening = +10 points, for sure.  Enjoy the last few days of 2013!

Wednesday, June 19, 2013

Invention convention

What??  Has it really been over a week since I last posted anything?  Unbelievable!  Well, it has been a busy time...  I am a mere SIX shifts away from completing residency and thereby finishing my lifelong (since preschool to be exact) journey through school and training.  A long road it has been, and here, where the road forks, is an exciting, exhilarating place.  Not so exhilarating that I would ever forget my lovely garden though.

So when I was in 4th grade, I won Invention Convention in my class and went to the school-wide level (where I did not win, but hey).  It was a crowning achievement for me, to the degree that I still talk about it with slightly odd frequency and take it as a sign of wonderful things ahead (I'm talking destiny).  Anyway, I invented a "Bug Smasher-and-Picker-Upper" which was a long handled wooden block attached by a spring to an equally long handled flat piece of pliable board below, such that you could trap an insect, demonstrated by an origami square with a roach drawn on top, by laying the pliable board on top and then squeeze the handle, causing the block to smash on top of the board/bug.  Then you could scoop up the bug on the board (it was very thin) and toss it in the trash.  I hated bugs.  Still do.  And that invention was ingenious.

Anyway, fast forward to 2013, I am stuck with the problem of a vertical planter that kills all my plants because it dries everything out.  And it killed half my plants while we were in Italy.  So I decided to try to fix it, somewhat crudely.

This was square 1, ie, my planter about 1mo ago, post-trip, pre-plants:


Clearly the Dipladenia (top left, red flowers) is a superhero plant because it has managed to grow through all forms of hardship since last fall, despite being an annual.  Aside from that, though, nothing has managed to grow successfully in the top two rows all because of the dryness.  Simple solution:  Figure out how to retain water...

Plastic bag lining!  Fancy!

A bit crude perhaps, but a way of keeping moisture from evaporating out the sides.  I did this on the top right and middle left.  And as a separate mini-experiment, on the middle right, instead of using plastic bags, I added a Plant Nanny with a water globe, which I had previously stuck in the dirt with my dahlias, where it was useless -- all of the water would immediately drain out the bottom in 2 minutes or less, rather than seeping slowly as the advertising insinuates it will.


Row 1:  Dipladenia, Marigold (1).  Row 2:  Marigolds (x2), thyme.  Row 3: Figaro Dahlia, Spearmint.  This is maybe the oh, 5th, incarnation of this vertical planter...  And a
bout a month later, through a bit of hot weather as well, we have the following results:


Looking pretty good!  Okay, so not an invention, per se, but still a solution with results I am happy with.  Both the plastic lining and the plant nanny/water globe combo seem to be helping.  Of course, there are the variables that marigolds are pretty awesome in terms of hardiness.  That's why you see them literally everywhere -- they're easy to grow.  Thyme isn't so fragile either.  But still... not bad!  So let's hope that the 5th time's a charm!

Sunday, April 21, 2013

Aphid Attack!

Yesterday, I went into my garden to take a look at how things were going.  I noticed my string of pearls has been rid of its mildew.  Hooray.  My parsley's whitefly problem is also greatly diminished with what appears to be numerous dead whiteflies on the dirt next to the plant.  Hooray again.  BUT as I looked closer, I saw that the whitefly in 3 days time has been replaced by... WHAT IS THIS??... APHIDS?!  


I gag.  Aphids to me are one of the most disgusting creatures alive, second only to the more disgusting cockroach. They hang out in huge groups on plants' stems and leaves literally sucking the life out of them to the point you would never even think of wanting to eat that plant.  Lest you think, "That picture looks awfully similar to the whitefly picture."  The main differences are, 1: they're bigger, about 3mm each  2: they're green (or sometimes black)  3: they're plump little pests  4: they don't fly.

Naturally, my next thoughts were how best to kill every single last one of these aphids.  For me, serious pesticides are out because I plan to eat this plant.  Even Neem oil which is pretty organic (it has medicinal uses) which I love in small doses is not something I really want to douse my plant in -- some sources mention studies that show that at least one of the component chemicals can in large doses cause temporary infertility.  Yikes.  

Fortunately, there are some easy organic home remedies that you can make yourself in no time at all -- garlic oil spray, tomato leaf spray, dish soap + water spray... the list goes on (here and here are a couple sources).  After looking at a couple sources, I decided to combine components of several for what I hope will be maximal killing effectiveness.

Michelle's modified aphid spray
You will need:
3-4 garlic cloves 
A small handful of tomato leaves
1 teaspoon cayenne pepper
2 tablespoons oil
500mL water
A spray bottle

Cut the garlic into a few smaller pieces.  Put the garlic and the cayenne pepper in the water and bring to boil.  Then toss in your tomato leaves.  Continue to boil for a few minutes and then lower the heat and let it all simmer together for another 20-30 minutes.  Let cool.  Remove the garlic and leaves, then add your oil.  Your aphid spray is complete.

Simmering aphid killing spray
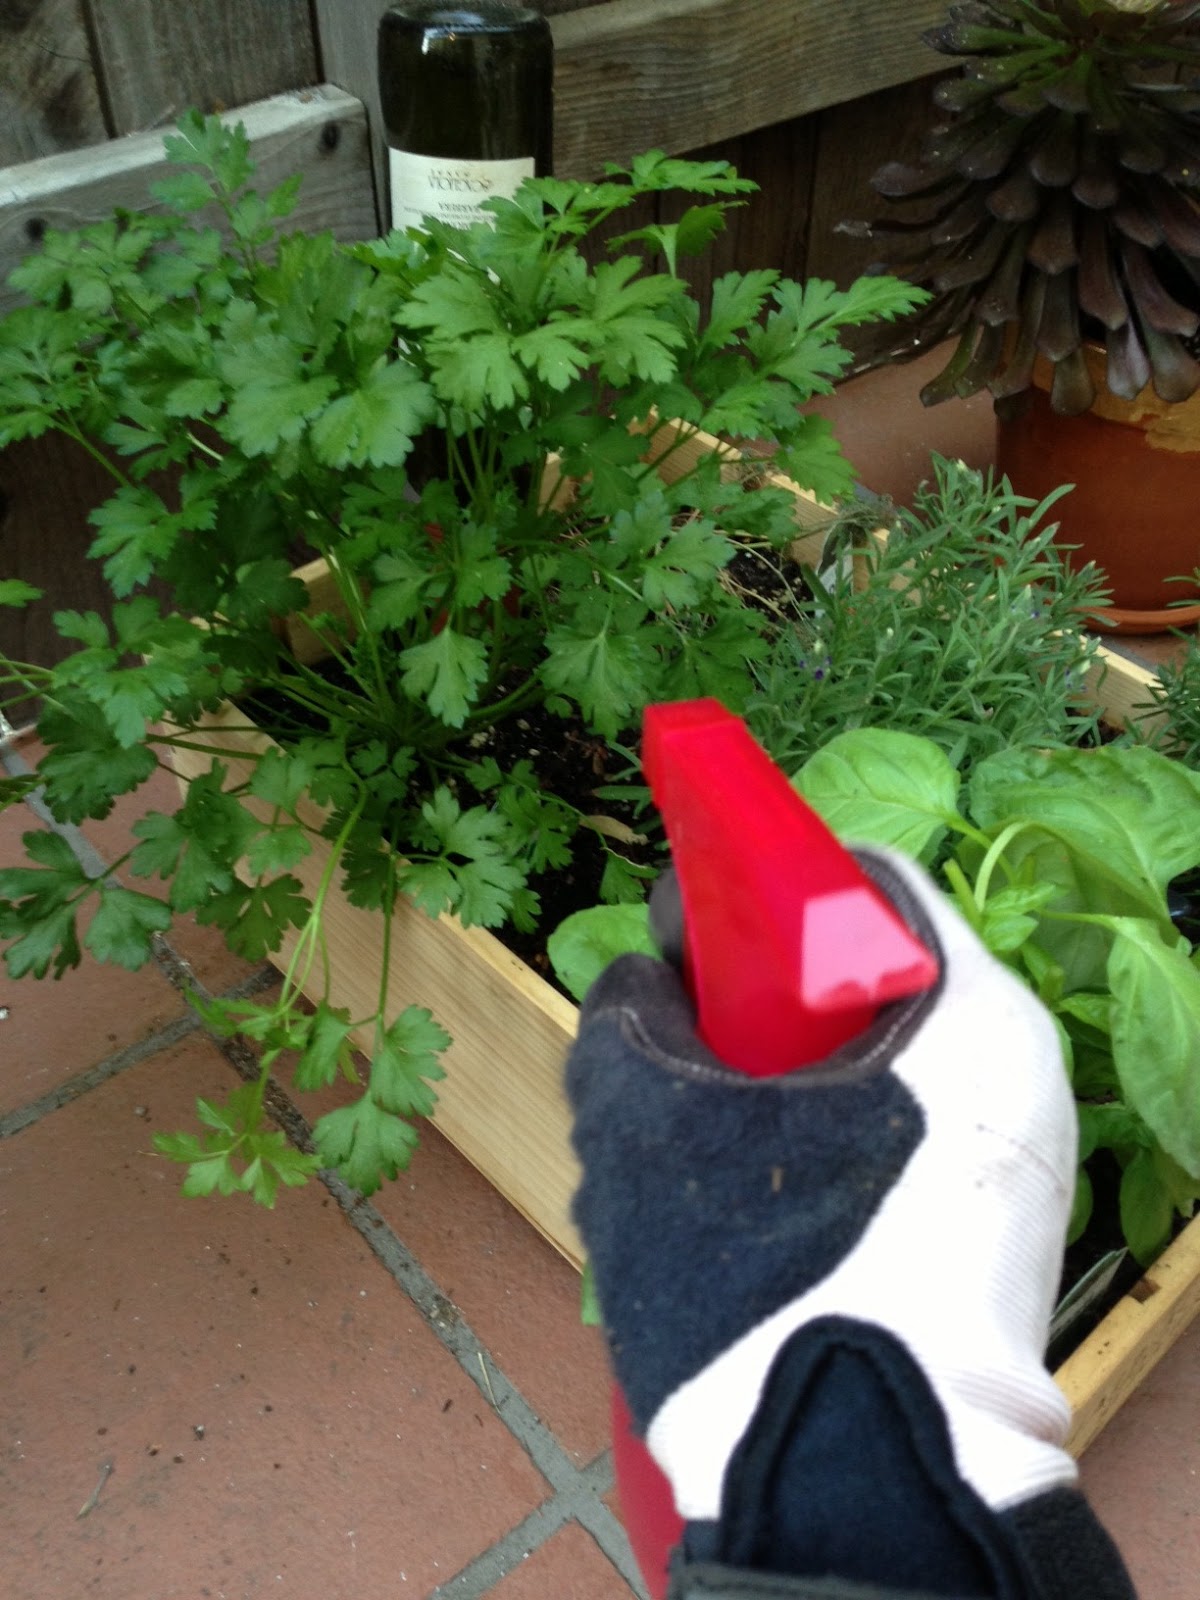
Once you're done, fill the spray bottle with your aphid killer spray, shake and spray the crap out of your plant.  Actually you should probably do a test spot first, but being too impatient for that and knowing that aphids increase in multiples of 80 per week, I decided to forgo the test spot and trust in the fortitude of my parsley.

Die, assholes
We will see if this spray actually works.  I feel like oftentimes, pests scoff at these organic home remedies, "Please, woman. Garlic scented water?"  I will keep you updated.  

On the upside, I harvested my first herb crop of the year... it is quite beautiful.  (Nevermind that I spent about 35 minutes de-pesting my parsley with a leaf by leaf examination.  *sigh*)

Beautiful herbs!

Tuesday, April 2, 2013

Arts + Crafts: Wine crate herb box

Every time I go outside or look out the window and see my herb box, it makes me happy.  As mentioned before, it was a bit more of a laborious process than expected, with two visits to the hardware store, a long visit to Michael's <shudder>, and multiple days required to drill the holes because my drill kept dying.  But  the end result was worth it!  And if you learn from the few small hangups I had, this is actually another very easy project.

First, you need a wine box.  As mentioned before, you can either beg one of a specialty wine store, or you can just buy one from winepine.com like I did.


Next, grab your tools.  I made my holes 7/8" in diameter.  There are drill bits especially made to drill holes through wood, just make sure they fit your drill.  The first bit I bought did not fit my "lady drill" (as the hardware store clerk called it), but I found another one that did.


Space your holes out for even and adequate drainage.  I do not know what the perfect number of holes is, but I decided on eight.  My lady drill, which is awesome as you can see, was plenty adequate... once it was charged.  (Next time, I will think ahead and charge it overnight the preceding night).


To avoid having all your dirt fall through the holes onto your patio, I recommend placing some sort of mesh over the holes.  After scouring Michael's, I found this plastic craft mesh, shaped like hearts, no less.  It worked perfectly!  I glued it in place with regular craft glue.


Next comes the fun part... pick your plants and plant away!  Take notice when you choose your plants that many wine crates (mine included) are only 7" in height, with individually sold plants often already in pots around 5" tall.  That does not leave too much room for soil at the bottom.  I probably would have chosen smaller plants if they had been available.


Now for some accessories -- to avoid root rot and water damage to your patio, little plant stands are great.  Also, another lovely addition is a plant nanny to make sure your herbs stay hydrated.  To use, place a an old bottle of wine, filled with water, upside down into the cone.  The water will slowly seep out through the terracotta.  This is more important if you sometimes neglect your plant babies or you have less drought tolerant herbs in your box. 


And then you're done, with a beautiful and functional wine crate herb box you can be proud of!  


Sunday, March 31, 2013

The Perfect Herb Box

At long last, I finished my wine crate herb box project.  Introducing the perfect box of herbs:


This wine crate thing really ended up being a labor of love (more on that later), but I'm pretty happy with it!  Here's a top view:


Top row from left: flat leaf parsley and dill.  Middle: Spanish lavender. Bottom from left: Italian large leaf basil and trailing rosemary.  in the very back, I've got a plant nanny with a wine bottle (get it? in the wine crate? yay!).  If it wasn't so functional -- I tend to be a neglectful gardener when I get busy -- then it might be overkill, but I suspect it will help keep my parsley and dill alive since they will probably require more moisture.  

Right now, they're organized by current height, but ultimately, the basil will be quite tall, hopefully the rosemary will trail over the side, and in the long term, the lavender which is a perennial will grow bigger and bigger until hopefully taking over the whole box.  Then I will have a wine box of lavender -- also wonderful :)  For now, cheers to herbs!